Early Years Puppet Booth
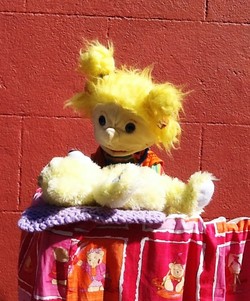
Make your own version of this simple booth using pvc drainage pipe from the hardware store. The booth is made from four simple frames attached together with cable ties. The frames are pulled out to make a solid base (roughly in the shape of the letter C) and fabric is draped over them. The fabric can be a sheet, duvet cover, old curtains or a nice new piece of fabric from the shop. The fabric cover should measure a little longer than the full length of the frame.
Below is a diagram with a parts list and measurements for the individual frames
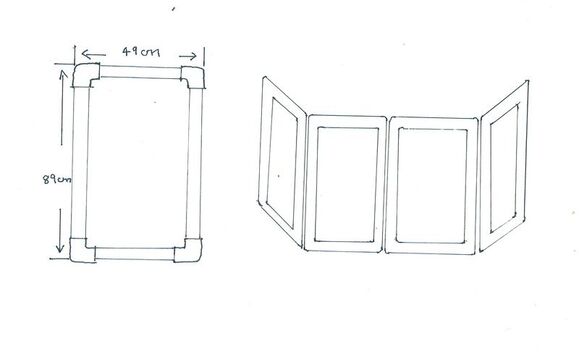
Parts List
8 x 40cm lengths pvc pipe
8 x 80cm lengths pvc pipe
16 x right angle pvc joints
Cable Ties
8 x 40cm lengths pvc pipe
8 x 80cm lengths pvc pipe
16 x right angle pvc joints
Cable Ties
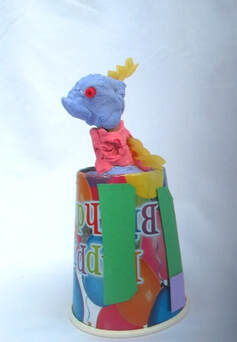
Air Hardening Modeling Clay
2 cups baking soda
1 cup cornstarch (cornflour)
1.5 cups cold water
(makes about 2 pounds - the recipe can be halved).
Baking soda and cornstarch make a smooth, pliable play clay that can be colored with everyday food coloring - or left white and painted once it hardens. When you have made your model, leave it to air dry - turning every 12 hours or so.
Place ingredients in a pan and stir until smooth. Set the pan over a medium heat and stir until boiling. Stir out any lumps and cook until it is the consistency of mashed potatoes.
Turn out onto a plate and cover with a damp, well-wrung kitchen towel - let cool. Dust a work surface with cornstarch and knead until pliable.
Store wrapped in waxed paper and aluminum foil
